As the holiday season draws near, so do cyber criminals. With more and more people shopping online, the number of potential cyber breach victims increases every day. In fact, Adobe is predicting that Black Friday 2017 will see the highest sales ever on record.
So, without completely withdrawing from the online world, how can you protect yourself and your business online? Try applying the following tips:
Make sure that you are on the website that you think that you are on
One of the most common ways to scam your username and password or credit card information from you is to send you to a fake website that looks very similar to the website that you are expecting. An example of this is paypal.com versus paypa1.com. Note that the only difference is the “L” at the end of the first one and there is a “1” at the end of the second one.
To get you to these fake sites, scammers will send you an email that directs you with a bogus link. One way to see where the link is taking you is to hover over it with your mouse. The website address will popup. If the link is bad, block the email sender and move the email to your “SPAM” folder to prevent receiving emails from that person in the future.
One way to confirm that you are visiting the website that you want is for you to type the website into the address bar. This way, you know that you are not following any false links and you arrive at the correct website.
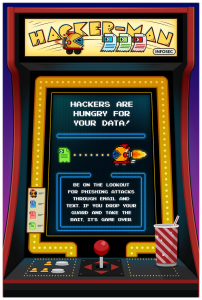
Don’t fall for holiday phishing schemes
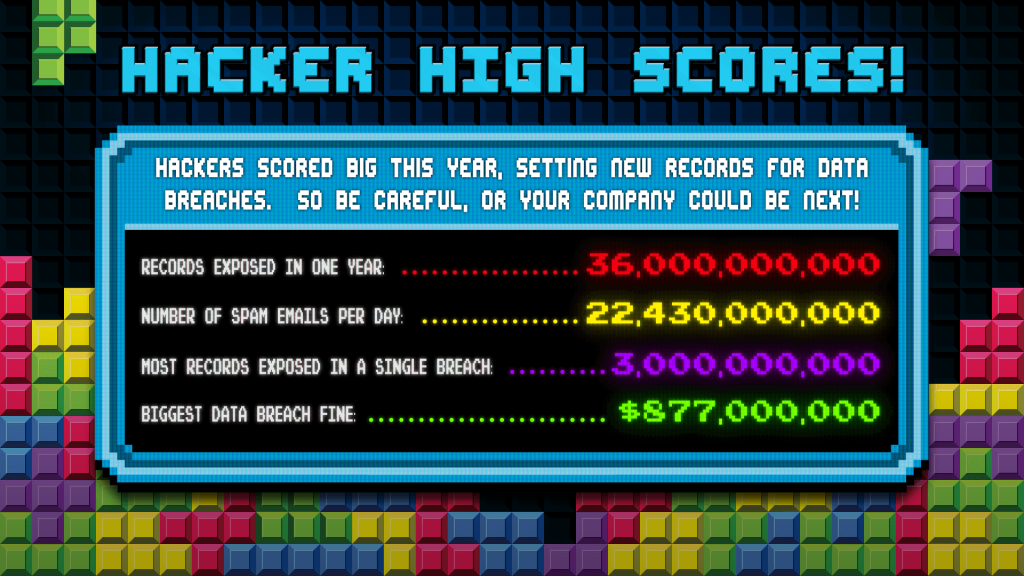
On Black Friday 2017, retailers sent over 3 BILLION emails to consumers, advertising their best deals and sales. This day was also filled with scammers sending out tons of emails, pretending to be a retailer. They were taking advantage of the fact that consumers were expecting to receive these emails and may not have questioned them as much. This is known as phishing and its main purpose is to collect as much personal information about you as possible.
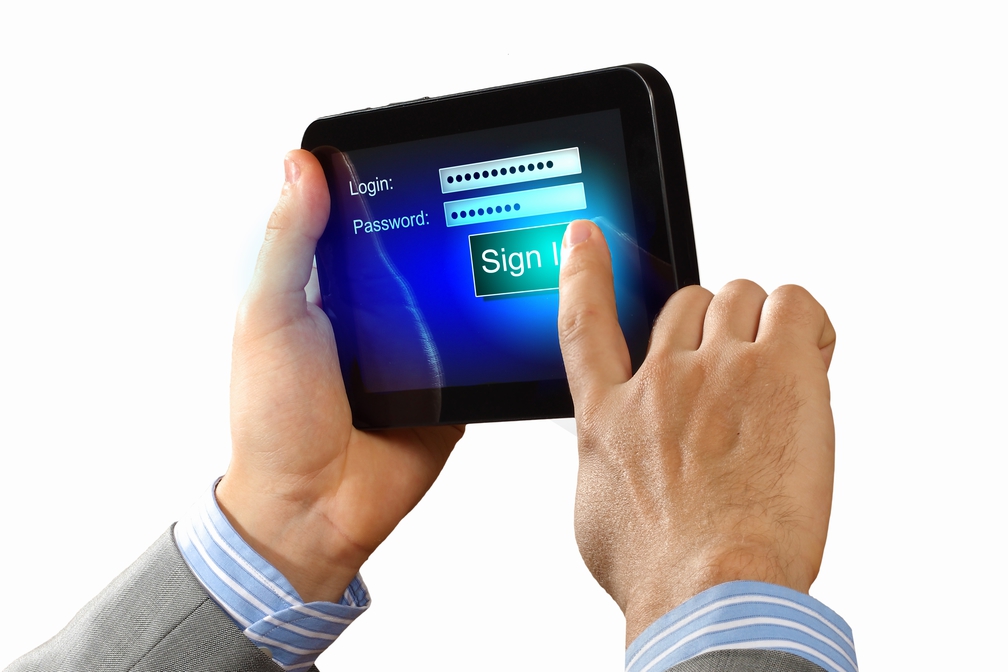
Commonly, phishing emails will try to direct you to a login page or a payment page. They want to get your information as quickly as possible without you questioning the validity of the site.
A few ways to identify phishing schemes:
- The “From” field display name is a store or bank. However, when you click into it to reveal the full email address, it’s an address not related to that entity.
- The email has graphics that look “off” or “fuzzy”. Sometimes, to make the fake email look more legitimate, a scammer will copy the graphics from a store or bank from their website, which are not a high resolution. As a result, when they are placed into an email, they look wrong.
- When you hover over the link that the email wants you to visit, it is not pointing to the website that it claims to be sending you to.
- Check for spelling mistakes and bad grammar. Legitimate companies are sticklers when it comes to spelling and grammar. If the email sounds poorly written, there is a good chance that the email is not legitimate
Check for an SSL certificate upon checkout
When you check out online, you want to make sure that there is an SSL certificate in the address bar. You should see that the web address starts with “https://”. Normally, there will be a lock image next to the address or the whole bar will turn green.
An SSL is important any time that you are entering financial information or passwords. This encrypts that information and keeps it private from anyone that may be watching your transaction.
Create a strong password (and don’t use the same one) for your customer (and business) accounts
Your customer accounts for stores and banks should be protected by a strong password. The company can have the best security measures and encryption in place, but if your account has an easily guessed password, none of that matters.
A strong password is 12 characters or more and contains at least one of each of the following:
- Uppercase letter
- Lowercase letter
- Number
- Symbol
You also do not want to use the same password for all of your accounts. This is because if one of the accounts is hacked, the hacker now has the login information for all of your other accounts and they WILL check this immediately.
The average American has over 60 online accounts that they have to remember, so look into a good password manager to help you maintain the information. Not only will the password manager help you remember all of your login information, but it will help you create secure passwords.
Some highly rated password managers include KeePass, Dashlane and LastPass. Check out this article from PC mag for more information on the top password managers of 2017: https://www.pcmag.com/article2/0,2817,2407168,00.asp
BONUS: Turn on two factor authentication where possible
Two factor authentication (TFA) is becoming more prevalent as hackers become more savvy and have access to greater computing power. TFA uses not only your username/password, but one other means of verification before you have access to your account.
This is now commonly available with banking and credit card websites. When you turn this on, after you sign in with your username and password, they will ask if you want to receive a text or email for secondary verification of the account. Once you make your selection, they will send a one-time only code to the phone number or email associated with that account, which you then have to enter to gain access.
This is helpful because even if someone had your password, they would still need access to your email or phone to be able to access your account. If TFA is available to you, INF recommends turning it on to better protect yourself.
Have a safe and secure holiday season from INF!


![Gadgets-In-Business-Vacation-Shopping-Banners-[Converted]](https://www.blog.integrityfirstins.biz/wp-content/uploads/2017/10/Gadgets-In-Business-Vacation-Shopping-Banners-Converted.png)