
With the onslaught of data breaches that happened in 2015 (about 65,000 according to the Verizon Data Breach Investigations Report), INF presents this multi-part blog series about keeping your data safe in the digital age.
Password Management Programs
As promised in Part 1 of this series, this blog entry will cover setting up and using a password management program. There are many good password management programs available, such as LastPass, KeePass and 1Password, and the cost of the program varies anywhere from free to around $100. If you are like most users, you need a password management program to:
- Create unique, strong passwords for all accounts, new and old
- Be an easily searchable repository for all passwords
- Remind you when to change your password
- Keep track of the security question answers that you created
Fortunately, there are multiple free programs that fit the above criteria. KeePass does all of the above and more. It is free and open source, which means that there is no chance of a security issue, because there are thousands of developers that have reviewed the code. In this article, we will cover the installation, setup and a few highlights of this program.
How to Set Up KeePass
To download the latest version of KeePass, go to: http://keepass.info/download.html. We recommend downloading the most recent version of the “Professional Edition”. The download link will take you to Sourceforge, which is where the download is stored. Save the setup file and then run it. Select your language and accept the agreement. Most people allow the program to be installed on the C drive. Install the program, keep “Launch KeePass” checked and click “Finish”.
KeePass will launch, as shown below:
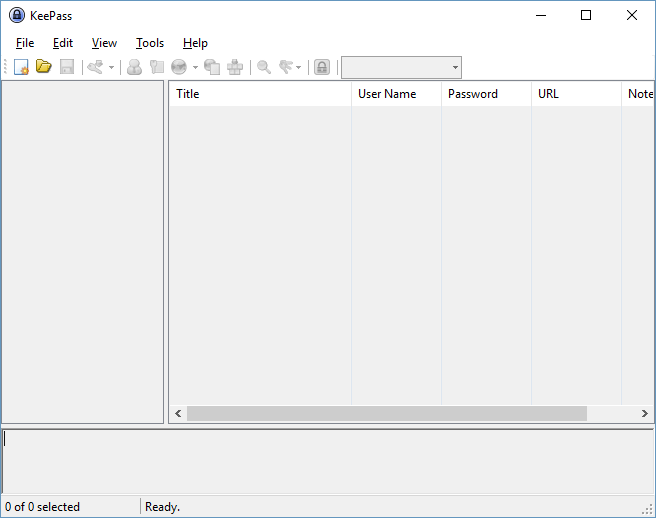
The first thing to be done is to create a new database file that will store all of your passwords. Go to File > New. This will bring up a dialog box, asking you the location to save your password file. We recommend saving it in a cloud, such as Dropbox or Microsoft OneDrive. This way, you will be able to access your database from any device that has access to your cloud account. Take note, the file extension will be “.kdbx”. Name your file, then click “Save”.
This will bring up the dialog box to create the master key:
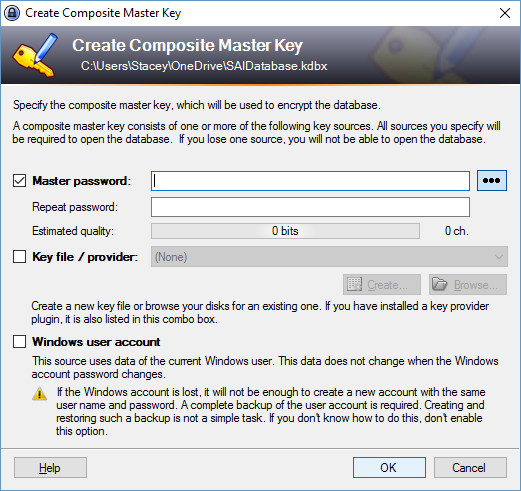
The master key is simply the password that you need to open the database file. This will be the only password that you need to remember from now on, so you need to make it secure. See Part 1 of this blog series for tips on creating a secure password. Enter your master password twice and click “OK”.
This brings up the next dialog box, which specifies the settings for the password database:
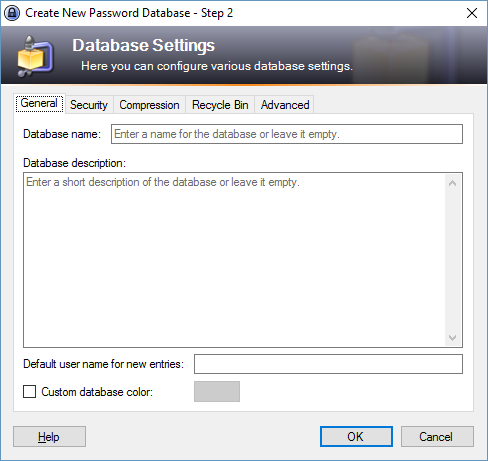
The default settings are adequate, so no need to change them. Press “OK” and you are done with the setup. KeePass will be opened to your new database.
Creating a New Entry in KeePass
To create an entry in KeePass, click the “Add Entry” button (the yellow key) or press Ctrl + I. The “Add New Entry” dialog box will appear:
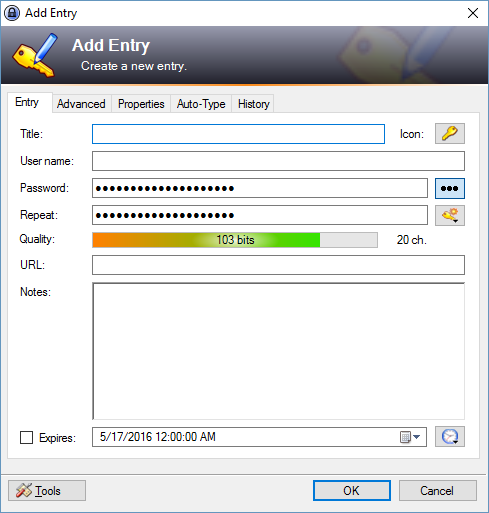
The title field should be a description of the username and password that you are going to enter, such as “Susan’s PNC Bank Account” or “Andrew’s Chase Visa Credit Card”. The username field should be your username, which is normally an email address. By default, KeePass provides a 20-character alphanumeric password. To display this password, click on the button with three dots to the right of the password field. If you would like to change the character set or length, click on the “Generate a Password” button (it looks like a key with an orange burst) and select “Open Password Generator”.
This will open the Password Generator window:
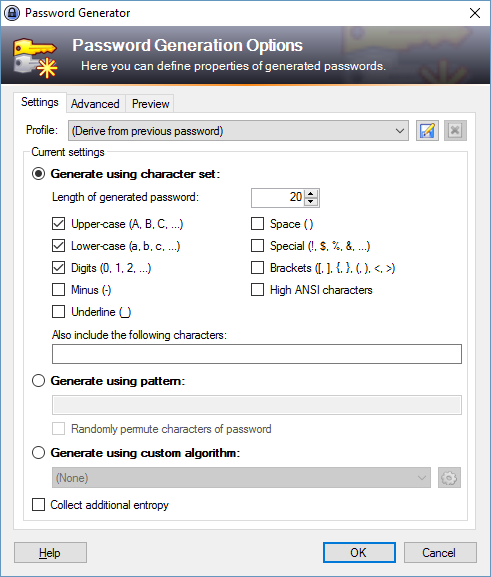
Select the character set checkboxes that you would like the password generator to use. You can also change the length of the password. Once you have the settings to your liking, select “OK”. The password will now use the settings that you selected.
The other option is to enter your own password. You can delete the one that is generated and enter your own. Fill in the URL field with the web address of the sign-in page that corresponds to the username and password. You may choose to put in an expiration date for the password as well as set a reminder alarm. Finally, if you have any notes that go with this entry, such as a security question/answer combo, you can enter it in the “Notes” section. Once the password entry is to your liking, select “OK”. You will now see your entry in the main right-hand window pane.
To edit the entry, double-click on the title and the “Edit Entry” dialog box will pop up:
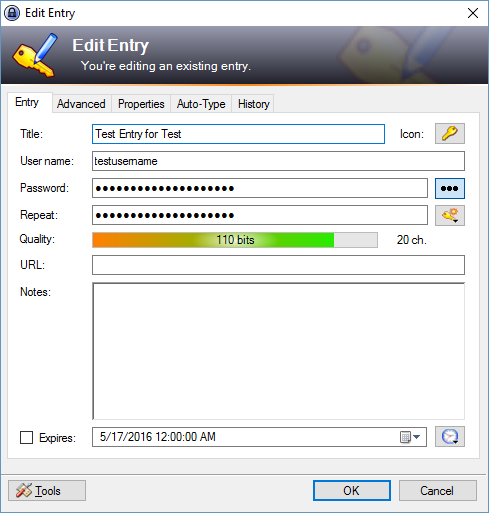
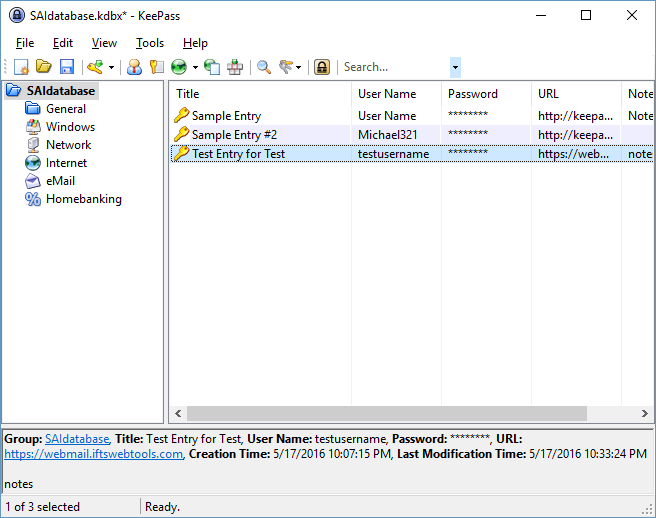
Make any necessary changes and press “OK”. To save your database, click on the “Save” button, which looks like a blue disk. You will want to create an entry for every password that you have.
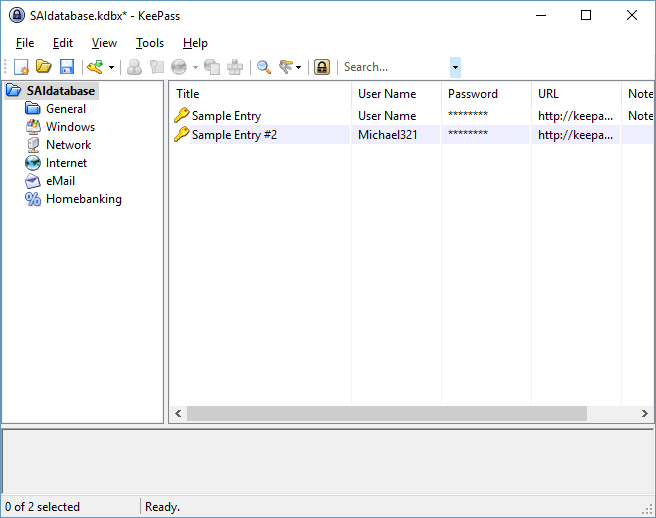
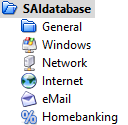
To help you organize your passwords, KeePass provides categories on the left-hand side of the main window. Simply drag and drop your entries into the categories that they belong to. You can also add categories, if the existing ones do not fit your needs.
Using your KeePass Database
Now that you have populated your database, the next step is using it! To open your browser to the sign in page of an entry, double-click on the “URL” field in the right-hand window pane or highlight the entry that you want to use and press Ctrl+U.
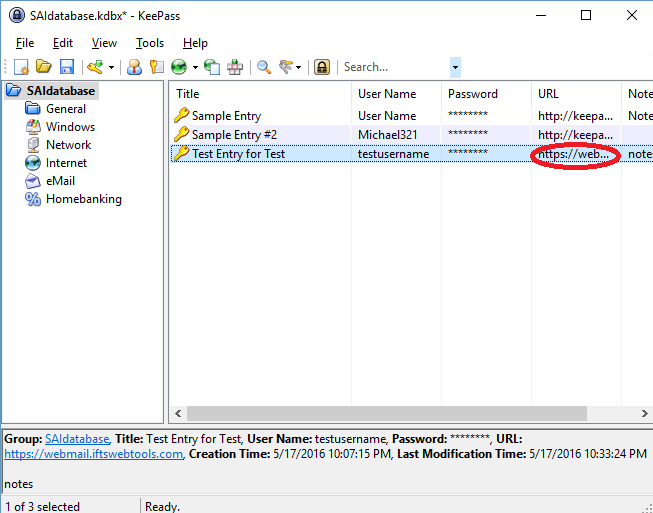
Your browser window should automatically open to the sign-in page corresponding to that username and password. If the page has both the username and password fields on it, put your cursor in the username field and then go back to KeePass. Make sure that entry is highlighted and press Ctrl+V. This will automatically fill in the username and password in the browser.
Alternatively, if you want to enter the username and password yourself or if they are on separate pages, you may do the following:
- Double click on the “URL” field in KeePass to open a browser to the sign-in page
- Go back to KeePass and double click on the “Username”
- Go back to the browser, put your cursor in the “Username” field and press Ctrl+V to paste the username
- Go back to KeePass and double click on the “Password” field
- Go back to the browser, put your cursor in the “Password” field and press Ctrl+V to paste the password
Please keep in mind that KeePass only keeps the fields copied for 12 seconds, so you must do the steps above fairly quickly.
Part 3 of this series will cover accessing your password database on different devices.